Every campaign has general settings that control its overall functioning. Follow these instructions to set them up properly:
Go to ‘Campaigns’ > click on the campaign you want to edit > Settings > edit the section, which are explained below:
Details:
To lay out the major elements of you campaign, you can:
- change the ‘Title’.
- change the ‘Description’.
- change the ‘Cover image’. This image will also be used as the project picture by default before a project owner changes it.
- (Optional) translate your campaign into French, Dutch and English if necessary.
- (Optional) ‘Limit the number of projects’ users can create for this campaign.
- edit the ‘Main button’. This links users to the ‘Create project form’.
- (Optional) add an additional links with text and URL.

Duration:
To manage the start- and end date of your campaign, from when people can start / end creating projects. For permanent campaigns (like birthdays, births, sportive challenge, etc) you don’t have to mention a date.

| Note: Your settings will only affect when users can create new projects. To learn how to set an end date to when project can receive contributions, click here. |
Status:
Choose the status of your campaign as either ‘Published’ or in ‘Draft’. Make sure to publish your campaign before adding it to your campaigns page.

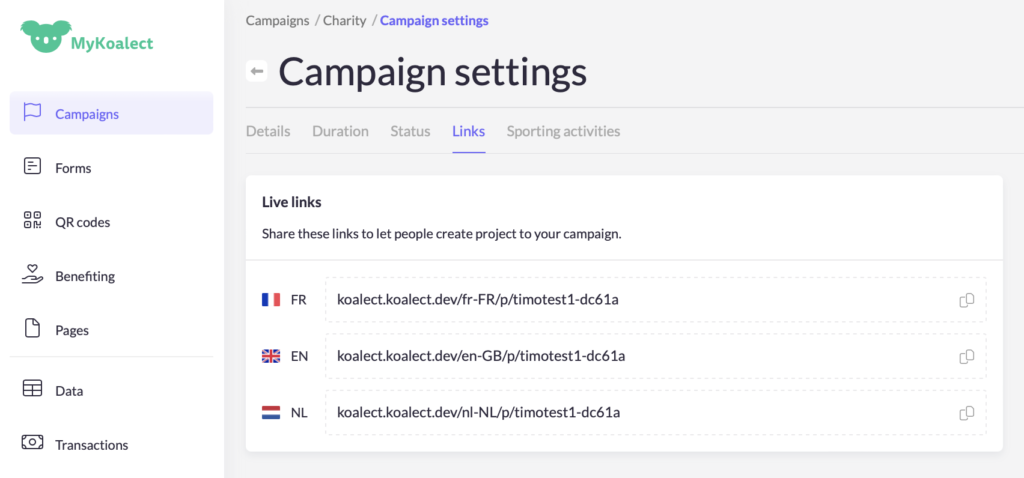
Links:
Find the link to the ‘Create project form’ of your campaign here.
Sporting activities:
You can integrate sport activities in your campaign with Strava. Continue to this article to learn more about STRAVA INTEGRATION.