Whether it’s a charity dinner, a community walk, or a concert — your supporters shouldn’t miss out because they didn’t know when to show up! With the “Event dates” elements, you can show the exact start and end time of your event directly on the project page and project card.
Add the event date elements to your form
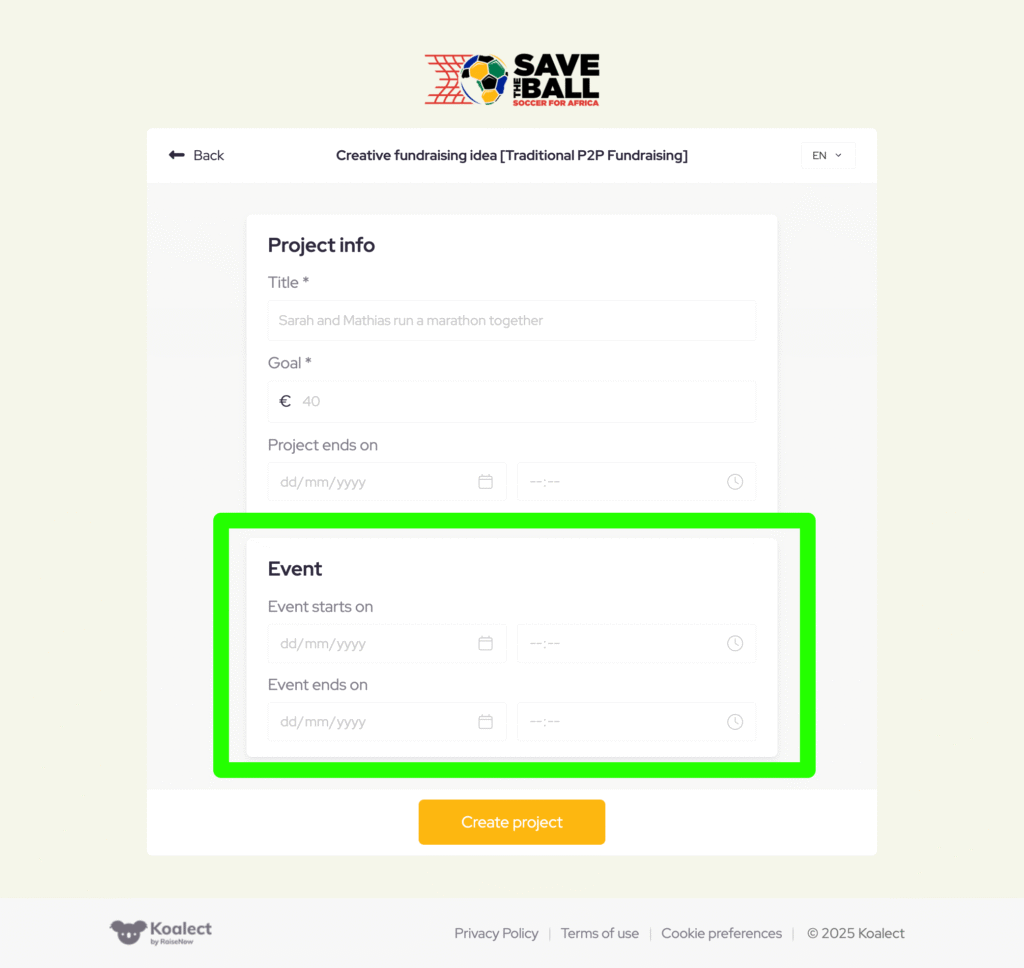
To allow users to indicate when their event will take place, you need to add the event dates elements to your “create project” form.
- Open your campaign
- Go to Forms and Navigate to the “Create project” form
- Click Add section, then choose Event.
- Save your changes
Once saved, the form will now collect event date information whenever someone creates a new project.
Show event dates on your project page
After the event date is added to a project, you can display it on the project page and project card by adding the event date element to your Template.
- Go to Templates and select the template you want to edit.
- Add the Event date element to your layout.
- Save your template
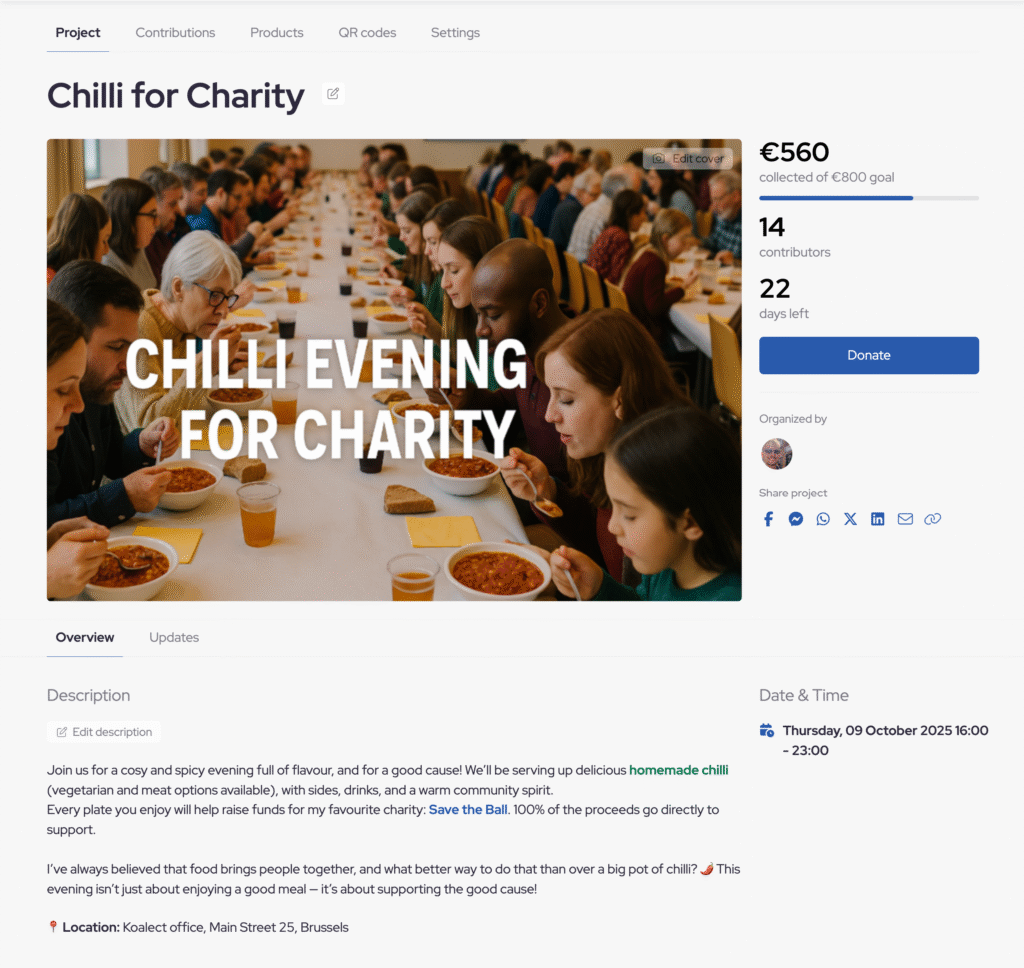
Your event’s date and time will now automatically appear on the project page.
Tip: Don’t mistake project dates with event date
- Project dates define when donations can be collected (fundraising period). Once the project end date passes, it’s no longer possible to contribute to the project (See article)
- Event dates are purely visual: they show when the actual event happens, but don’t affect donation availability.
Example: Your fundraising page for a charity dinner can stay open for donations until the end of the month — even if the dinner takes place on 9 October.